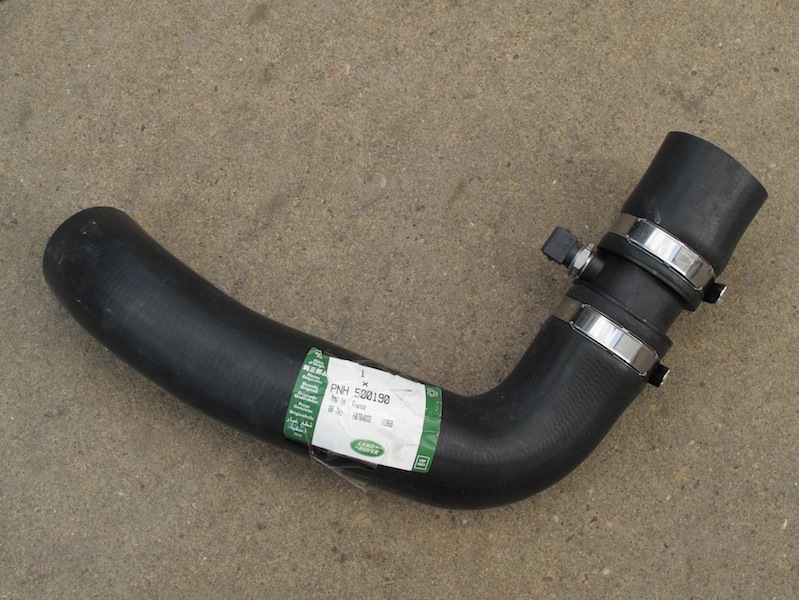
Freelander intercooler hose replacement
So I treat the Freelander to nice fresh auto gearbox oil & a new PCV valve (crankcase breather) at my local Land Rover independent and how does it repay me on the way home? A big cloud of black smoke and loss of power, thanks! I must admit my first reaction after I’d stopped swearing was ‘how many £££’s is this going to cost me?’ Thankfully after limping back home and thinking about the symptoms a quick investigation confirmed my diagnosis; a split intercooler hose, a nice simple fix, or so I thought… Strangely after ringing around and surfing for the best price on a genuine parts replacement my local main dealer came up trumps with both price and availability. The part number required was PNH500190. So the following day the dealer relieves me of £40 and I return home with the replacement hose, this is where the fun began.

First job was to loosen/remove the hose clips to allow me to remove the split hose, the uppermost clip came loose within a minute but the lower clip was to prove more of a challenge to say the least! I assume when the engine and body are mated together at the factory the body-shell is dropped onto the complete engine assembly on the track; great for factory not so good for maintenance. The lower hose clip that secures the hose to the intercooler is positioned at such an angle that try as you might you cannot get a ‘driver, spanner or socket on to it directly as the head of the clip securing screw is tight against the body work, thanks for that Land Rover! After no success with various flex-drives and socket extensions I finally managed to get a small 6mm cranked spanner onto the screw head however I could only manage a tiny amount of turn before needing to reposition the spanner due to it fouling the body work, as you can imagine this put me in a fine old mood. Eventually the clip relented enough to enable me to pull the hose free and set about replacement.


To prevent the bracket chaffing the intercooler hose in the future I filed the sharp edges from the bracket and then cable tied a piece of the old hose over the bracket to provide a smooth non-damaging surface.
")
Whilst I had the induction system in pieces I also cleaned up all of the hoses and made good all the connections and finally I thoroughly cleaned up the EGR valve to prevent any further issues. Also when I refitted the lower hose clip I simply rotated it by 90° to enable any future removal a simple 2 minute job and not the faff I had.
