Since purchasing the Freelander, I’ve been looking for some roof rails and cross bars to mount the roof box on.
A quick squint around the internet showed that rails and bars aren’t cheap. The prices from Duckworths are about the going rate. Total cost for rails and bars (Including VAT) is around £450. The part numbers concerned are: –
Roof rails (With panoramic sunroof) LR007220
Roof rails (Without panoramic sunroof) LR006608
Cross bars LR002417
Instructions can be downloaded from here
First of all we had to remove the rear plastic trim. The channel was full of crud so we cleaned that out while we had the chance: –

After cleaning both channels we replaced the lower plastic trim securing it with double sided neoprene foam: –

Next the upper/outer trims were drilled: –

We used a 10 TPI hole saw to prevent damage to the trims: –

The hole saw was purchased from here
The front trims were drilled in situ and the rail retaining fixing was put in with some sealant


The sealant is Terostat-9200 (1K PUR) Adhesive Sealant, Black 310ml Cartridge.
Details of the sealant can be found here. It can be purchased from here.
Next stage was to offer up the roof rails and screw them down. The fixings only had to be torqued up to 12 Nm.

The cross rail was particularly difficult to fix as the fasteners are near impossible to get at. They were tightened using a flexible hex drive shaft and torqued up using a 3/8″ ‘wobble bar’ extension.

Finally the plastic trims were given some extra security by applying some of the Terostat sealant to the mating faces. This was done as we’ve read n several forums that the plastic trims have a habit of coming free in the wind at high speed.

The rear plastic trims didn’t seat particularly well and required ‘persuading’ into position with a glazer’s beading hammer. Even after persuasion, they still don’t sit flush. Dodgy mouldings seem to be the culprit!

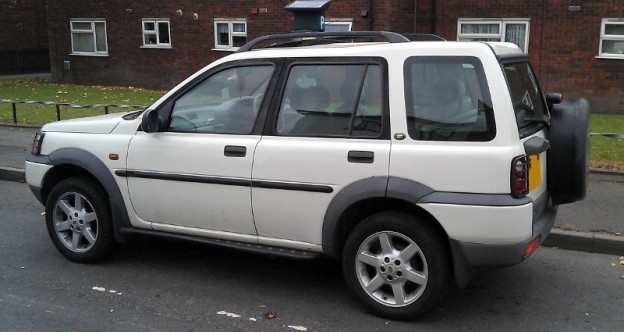
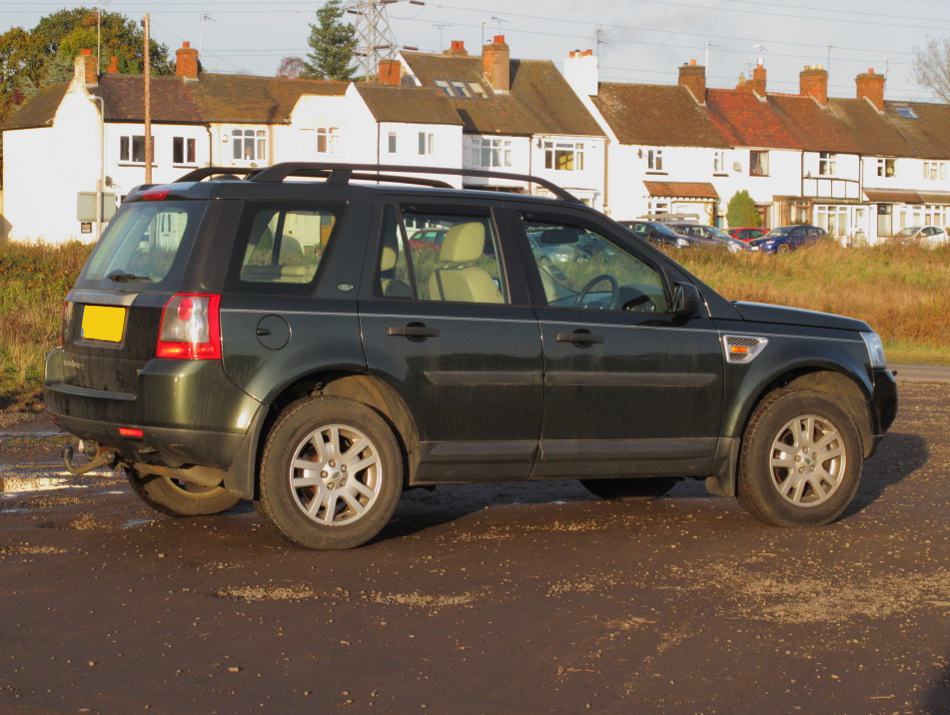
Anyhow here’s the before and after to compare: –


Very pleased with the final result. Just hope the roof box fits now!!!